
Ceiling Cleaning: How to Clean a Ceiling
Step-by-Step Guide to Pristine Ceilings
Ceilings, often overlooked in regular cleaning routines, can accumulate dust, grime, and cobwebs over time, diminishing the overall aesthetics of your home. Moreover, certain areas may develop mold or mildew, posing potential health risks. In fact, cleaning your false ceiling design might seem like a daunting task due to its height and the possibility of causing damage if not done correctly. However, it is an essential part of home maintenance.
This guide aims to provide you with practical, easy-to-follow steps to help you effectively clean your false ceiling design. Whether your ceiling is made of drywall, tiles, or wood, we’ve got you covered. Not only will a clean ceiling brighten up your interior design, but it will also contribute to a healthier living environment. So, let’s roll up our sleeves and look upward to the often-neglected fifth wall of our interior design.
How Often to Clean a Ceiling?
The frequency of ceiling cleaning depends on several factors including the room’s usage, geographical location, and your health. Generally, a good rule of thumb is to dust your ceilings every three months to prevent buildup. Rooms with high humidity like bathrooms or kitchens may require monthly checks for mold and mildew. If you live in a dusty area or have family members with allergies, more frequent cleanings may be necessary. In case of visible stains or marks, immediate cleaning is advised. Despite these guidelines, it’s important to regularly visually inspect your ceilings to determine when they need attention.
How to Clean a Ceiling?
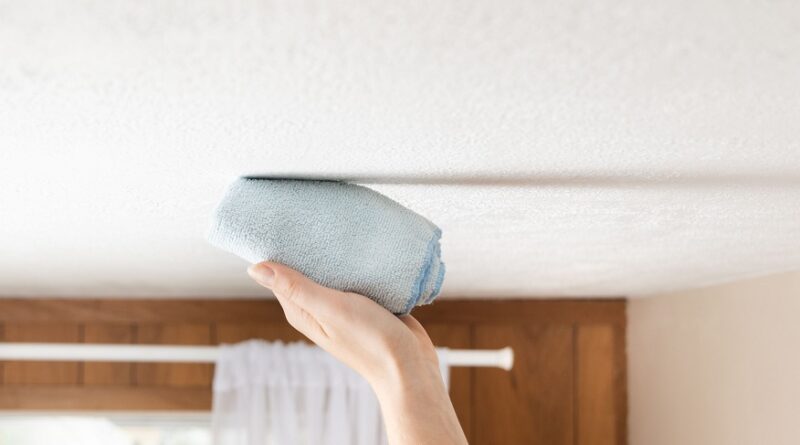
Vacuum Or Dust The Ceiling
Start by gently vacuuming or dusting the ceiling surface to remove loose dirt and cobwebs. For this, you can use a long-handled duster or a vacuum cleaner with a soft brush attachment. Be careful to avoid pressing too hard, which can damage the ceiling.
Clean Corners and Molding
Pay special attention to corners and moldings where dust and spider webs often accumulate. Use a step ladder to reach these areas safely. A small brush or a cloth can be helpful to dislodge stubborn grime.
Create Your Cleaning Mixture
Prepare a mild cleaning solution using warm water and a gentle detergent. Avoid harsh chemicals that can discolor or damage your ceiling. If treating mildew or mold, add a cup of bleach to a gallon of water.
Spray and Roll the Cleaning Mixture On
Lightly spray the cleaning mixture onto the ceiling. Then, use a sponge mop or a paint roller to spread the mixture evenly, working in sections. Be cautious not to oversaturate the ceiling as it can lead to water damage.
Dry Your Ceilings
After cleaning, it’s crucial to dry the ceiling promptly to prevent moisture damage. Use a towel or a dry mop to absorb excess water. You can also use fans or dehumidifiers to speed up the drying process.
Treat Problem Spots
For stubborn stains or spots, apply a stain-blocking primer after the ceiling is dry. This will not only cover the problem area but also prevent it from reappearing. Always remember to test any treatment on a small, hidden area first to ensure it won’t harm the ceiling material.
Maintaining a clean false ceiling design is an essential aspect of home upkeep that often goes unnoticed. Regular cleaning can prevent dust accumulation on home décor ideas, mold growth, and unsightly stains, enhancing the overall ambiance of your rooms. While the task may seem daunting initially, by following these straightforward steps- vacuuming or dusting, cleaning corners and moldings, using a suitable cleaning mixture, evenly applying and promptly drying it, and treating problem spots – you can effectively clean your ceiling.
Remember to adjust the cleaning frequency based on your specific circumstances and home décor ideas for the best results. With a little effort, your ‘fifth wall’ can continue to look as good as new.